

How To Change Headlights On A 2007 Honda Civic
Introduction
This guide demonstrates how to replace a halogen low-beam headlight bulb in a 2006-2011 Honda Civic Coupe. You will demand a Sylvania SilverStar 9006 ST ZXE halogen headlight bulb, or 2 if you demand to supersede both lightbulbs.
Go on in listen that, when handling a halogen lightbulb, you should avoid touching the glass function of the bulb with your hands; The oils can reduce the life of the seedling. It is recommended that you lot practice this replacement on a sunny day to help you encounter, or have someone agree a flashlight for you if needed.
Prior to starting this repair, turn off your machine , make sure information technology is cool. and put on your emergency break for rubber.
-
-
Pull the hood release lever underneath the commuter wheel near the lower door hinge to unlock the hood.
-
-
-
Detect the hood-release latch underneath the hood, just above the Honda logo on the grill of your vehicle.
-
Once yous feel this latch, printing it upward to fully release the hood and lift it up.
-
-
-
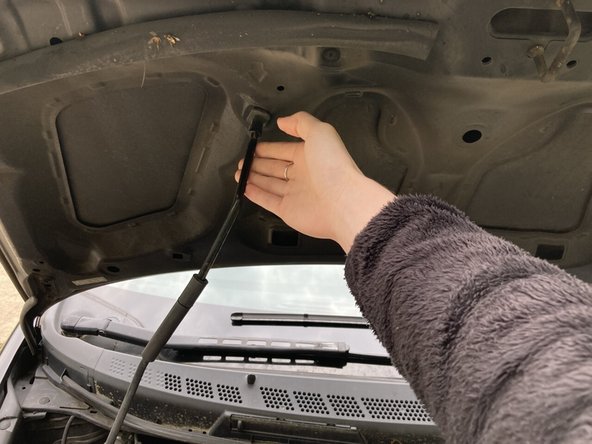
Later lifting the hood, accept the hood back up rod that is lying across the front of the car and insert the costless end of the rod into the support rod hole found in the hood.
-
-
-
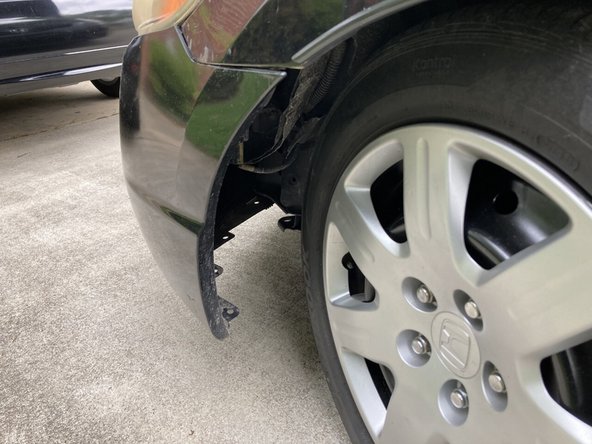
Turn on the car and with the steering wheel, turn the tires to admission the lightbulb.
-
-
-
Sit next to your tire and look under the torso toward the front end of the automobile.
-
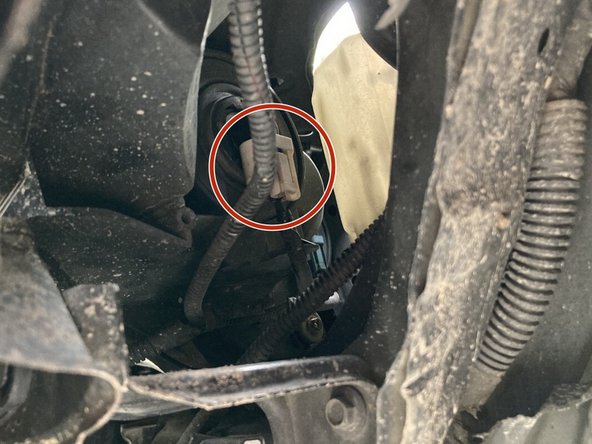
Place the headlight by looking for a clip connected to a wire such as the white one shown.
-
-
-
Press firmly on the bottom of the center cut-out portion of the clip. This will unlatch the clip from the bulb.
-
As yous push down on the clip to release information technology, pull the clip off.
-
-
-
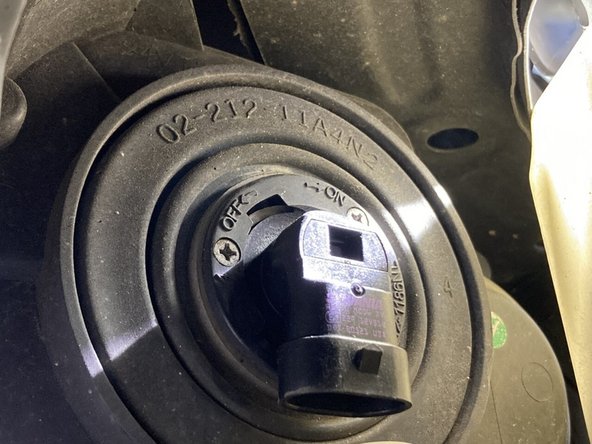
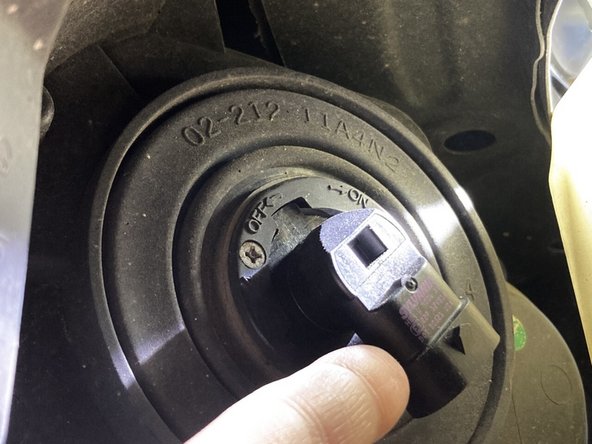
Take hold of the back of the bulb and rotate it counter-clockwise to the "off" position.
-
Pull the seedling toward you to remove it.
-
-
-
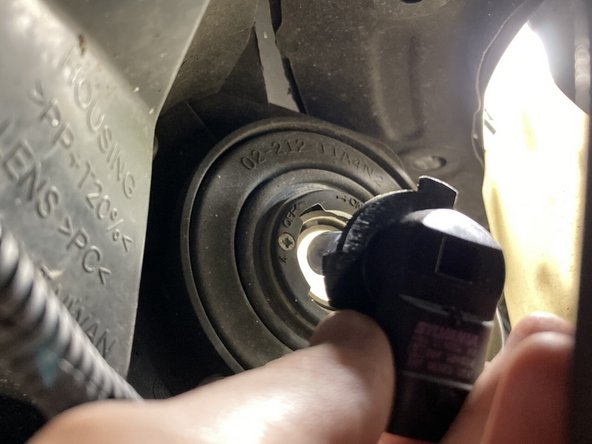
Grab your replacement bulb.
-
Insert your new seedling in reverse-order as y'all did removing it: Place it into the hole in the "off" position, and rotate it clockwise to the "on" position.
-
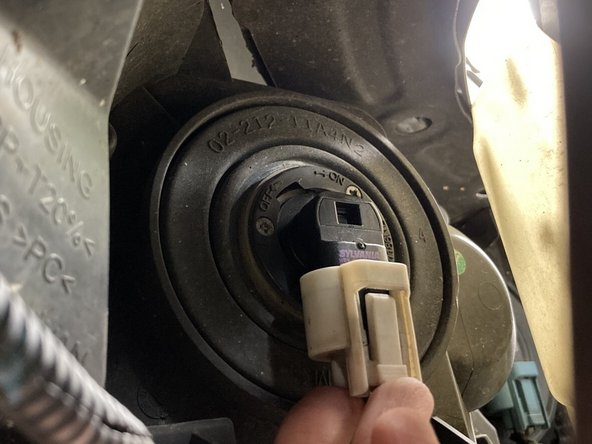
Tug on the back of the bulb to ensure that it has been properly secured.
-
-
-
Reattach the electrical wiring clip past sliding it back onto the rear side of the seedling.
-
-
-
Disassemble the hood back up rod and close the hood of your car.
-
Turn on your headlights to brand sure the new bulb has been properly connected. The bulb in the heart of the headlight should exist thoroughly lit.
-
If you lot would like, turn your car on again to re-adjust your tires back to their normal position. Now, y'all're washed!
-


Conclusion
These instructions can be followed for replacing both the passenger-side bulb and the driver-side bulb.
Embed this guide
Choose a size and copy the code below to embed this guide as a small widget on your site / forum.
Preview

Source: https://www.ifixit.com/Guide/2006+2007+2008+2009+2010+2011+Honda++Civic+Coupe+Low-Beam+Headlight+Replacement/142195
Posted by: wilsongrem1973.blogspot.com
0 Response to "How To Change Headlights On A 2007 Honda Civic"
Post a Comment